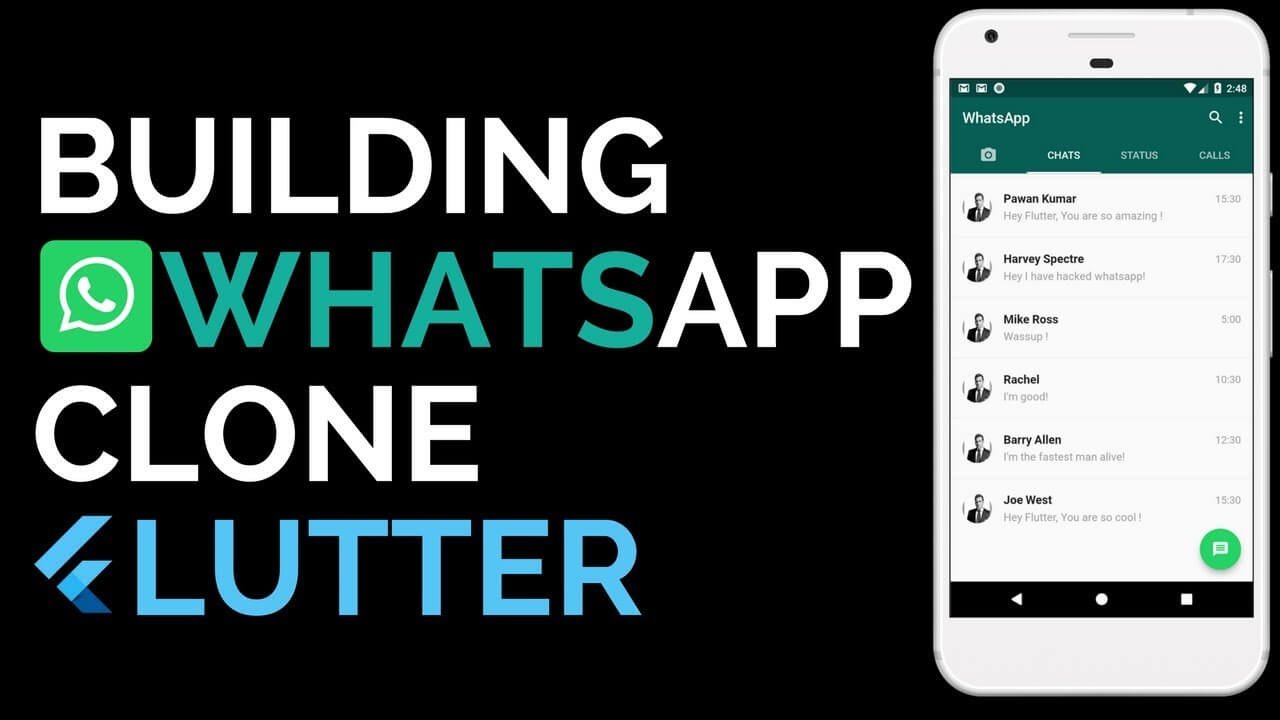
WhatsApp UI Clone with Flutter Io and Dart

Flutter is a free and open-source mobile UI framework created by Google and released in May 2017. It allows you to create a native mobile application with only one codebase. Its means that you can use only one programming language to create an app for two different platform such as iOS and Android.
In this Article, will share you a simple tutorial of how you can develop a simple Whatsapp UI clone using Flutter. As its only UI, so there is no integrated backend into this but soon will share same Project with Backend Integration.
SOURCE CODE DOWNLOAD
For Demo & Source Code Scroll down.
flutter create whatsapp_ui_clone
This will generate the project files for both Android and IOS
Now that the project has been generated, Checkout into the project folder and run Flutter.
cd whatsapp_ui_clone && Flutter run
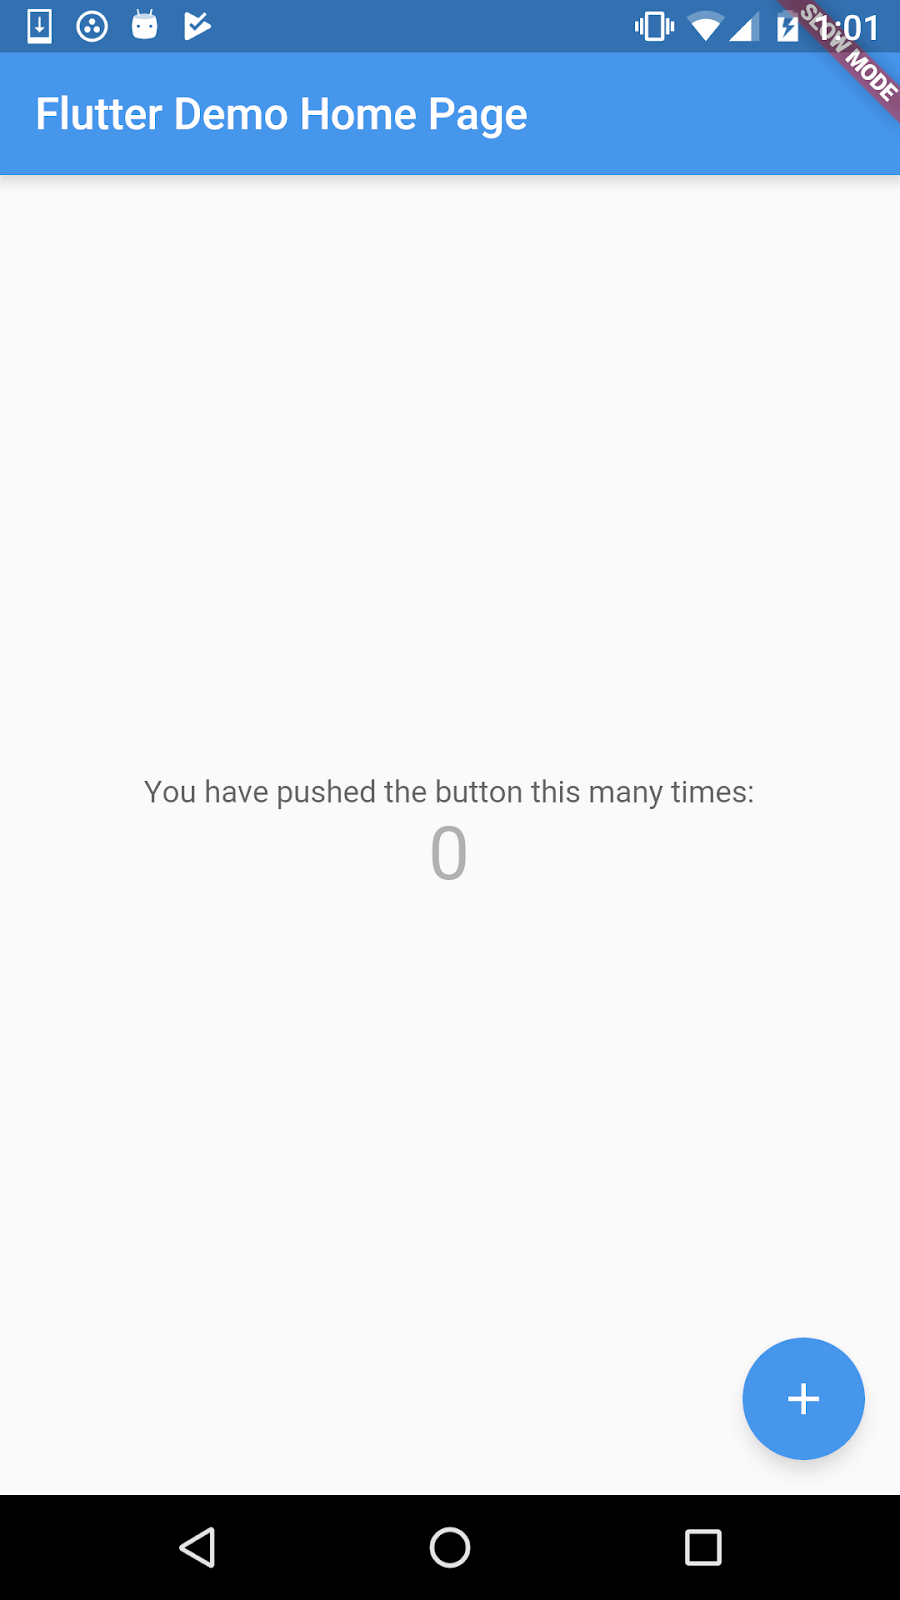
By default, Flutter generates a Counter application so if their is no issue while setting up Flutter Environment, you should see this on your device.
Let’s start by importing Flutter’s material package. This package contains a set of pre-made widgets which are designed following Google’s material design guidelines.
import 'package:flutter/material.dart';
Now Flutter Environment has setup now you can move to the development mode. We now move on to the main function. This is the first thing that runs when the app is launched.
In main.dart, we add the lines
        void main(){

        }
Next, we specify the runApp method inside of main
        void main(){
            runApp(

          );
        }
Now, we need to specify the MyApp method inside of runApp
        void main(){
            runApp(
                MyApp()
          );
        }
Also, you can write above code like this.
void main() => runApp(MyApp());
As we know using OOPS concept is beneficial for every programming laguage same we going to do here, will use OOPS concept to develop this Whatsapp UI clone.
        class MyApp extends StatefulWidget{

            @override
            _MyAppState createState() => _MyAppState();
          }
In above code, simply we create a class name MyApp where we going to specify our further code. Also used @override method which marks an instance member as overriding a superclass member with the same name. @override just points out that the function is also defined in an ancestor class, but is being redefined to do something else in the current class. It's also used to annotate the implementation of an abstract method. It is optional to use but recommended as it improves readability.
Now, we create a new instance of MaterialApp. This will be the parent widget of our app.
return MaterialApp();
In Flutter, there are two types of widgets, Stateful and Stateless. The above code uses the Stateful variant. As you can see, it is created in three steps. First, on line 1, the class name is defined followed by the keywords Extends StatefulWidget. Then on line two, the state is created. Finally, on line five another class is created, this time using the name used to create the state. This class extends the State.
        class MyApp extends StatefulWidget{

        @override
        _MyAppState createState() => _MyAppState();
        }

        class _MyAppState extends State with SingleTickerProviderStateMixin{
        TabController controller;

        @override
        void initState(){
            super.initState();
            controller = new TabController(length: 3, vsync: this);
        }
#With all the components in place, it’s time to look up code structure and look at the results. Back in main.dart, modify the file so that it looks like this.
import 'package:flutter/material.dart';

void main() => runApp(MyApp());

class MyApp extends StatefulWidget{

  @override
  _MyAppState createState() => _MyAppState();
}

class _MyAppState extends State with SingleTickerProviderStateMixin{
  TabController controller;

  @override
  void initState(){
    super.initState();
    controller = new TabController(length: 3, vsync: this);
  }

  @override
  Widget build(BuildContext context) {
    // TODO: implement build
    return MaterialApp(
      debugShowCheckedModeBanner: false,
      home: Scaffold(
        appBar: AppBar(
//          backgroundColor: Color.fromARGB(200, 7, 94, 84),
        backgroundColor: Color.fromRGBO(7, 94, 84, 2),
          title: Text("WhatsApp"),
          actions: [
            Padding(
              padding: EdgeInsets.only(right: 15.0),
              child: Icon(Icons.search),
            ),
            Padding(
              padding: EdgeInsets.only(right: 15.0),
              child: Icon(Icons.more_vert),
            ),
          ],
//          flexibleSpace: ,
          bottom: TabBar(
            indicatorColor: Colors.white,
            controller: controller,
            tabs: [
              GestureDetector(
                child: Tab(
                  child: Text("CHATS"),
                ),
              ),
              GestureDetector(
                child: Tab(
                  child: Text("STATUS"),
                ),
              ),
              GestureDetector(
                child: Tab(
                  child: Text("CALLS"),
                ),
              ),
            ],
          ),
        ),
        body: TabBarView(
          controller: controller,
          children: [

            Container(
              child: ListView.builder(
                itemCount: 10,
                itemBuilder: (BuildContext context, int i){
                  return Card(
//                    elevation: 10.0,

                    child: ListTile(
                      contentPadding: EdgeInsets.all(10.0),
                      title: Text("SAMPLE", style: TextStyle(
                        fontWeight: FontWeight.bold,
                      ),),
                      subtitle: Text("Sample message"),
                      leading: CircleAvatar(
                        backgroundColor: Color.fromRGBO(7, 94, 84, 2),
//                        foregroundColor: Colors.pink,
                        child: Icon(
                            Icons.android
                        ),
                      ),
                      trailing: Text("${DateTime.now().hour}" + ":" + "${DateTime.now().second}"),
                    ),
                  );
                },
              ),
            ),
            Container(
              color: Colors.white,
              child: Column(
                children: [
                  ListTile(
                    leading: CircleAvatar(
                      backgroundColor: Color.fromRGBO(7, 94, 84, 2),
                      child: Icon(Icons.android),
                    ),
                    title: Text("My Status", style: TextStyle(fontWeight: FontWeight.bold),),
                    subtitle: Text("Tap to add status update"),
                  ),
                  Container(
                    height: 25,
                    color: Colors.black12,
                    child: Row(
                      children: [
                        Padding(
                          padding: EdgeInsets.only(left: 20),
                        ),
                        Text("Recent Updates", textAlign: TextAlign.left),
                      ],
                    ),
                  ),
                  Expanded(
                    child: Container(
                      margin: EdgeInsets.all(0),
//                    height: MediaQuery.of(context).size.height,
                      child: ListView.builder(
                        itemCount: 10,
                        itemBuilder: (context, i){
                          return Card(

                            child: ListTile(

                              leading: CircleAvatar(
                                backgroundColor: Color.fromRGBO(7, 94, 84, 2),
                                child: Icon(Icons.android),
                              ),
                              contentPadding: EdgeInsets.all(7.0),
                              title: Text("Hey", style: TextStyle(fontWeight: FontWeight.bold)),
                              subtitle: Text("Today ${DateTime.now().hour}" + ":" + "${DateTime.now().minute}" + "pm"),
                            ),
                          );
                        },
                      ),
                    ),
                  ),
                ],
              ),
            ),
            Container(
              child: ListView.builder(

                itemCount: 10,
                itemBuilder: (BuildContext context, int i){
                  return ListTile(
                    contentPadding: EdgeInsets.all(7.0),
                    leading: CircleAvatar(
                      child: Icon(Icons.android),
                      backgroundColor: Color.fromRGBO(7, 94, 84, 2),
                    ),
                    title: Text("Sample", style: TextStyle(fontWeight: FontWeight.bold)),
                    subtitle: Text("Yesterday, ${DateTime.now().hour}" + ":" + "${DateTime.now().minute}" + "pm"),
                    trailing: Icon(Icons.call, color: Color.fromRGBO(7, 94, 84, 2),),
                  );
                },
              ),
            ),

          ],
        ),
        floatingActionButton: FloatingActionButton(
          child: Icon(Icons.camera_alt),
          backgroundColor: Color.fromRGBO(7, 94, 84, 2),
        ),

      ),

    );
  }
}
Here is the video of this app after executing all code need for the development of this Whatsapp UI Clone App
You will get all files, when you download the source code. And after than you can edit it according to you
if you face any issues you can contact by asking question with article link.
You can Download source code for the same & make changes according to you
More From The Author
Animated Signin/Signup/Reset Form By Using Only CSS
This Animated Signin/Signup form allows users to navigate between login/signup to get into your webs...
10 Tips To Improve Your JavaScript Coding Skill.
In this article, I will share what I apply to improve my JavaScript coding skill...
WhatsApp UI Clone with Flutter Io and Dart
In this Will share a simple tutorial of how you can develop a simple Whatsapp UI clone using Flutter...
Python Texting Program using Twilio Api
In this article, get all information about how to make CS GO Buy Weapon Menu with Demo & Free Source...
Python Program to convert Decimal to Binary Number
To convert decimal to binary number in python, you need to enter a number in decimal number system t...